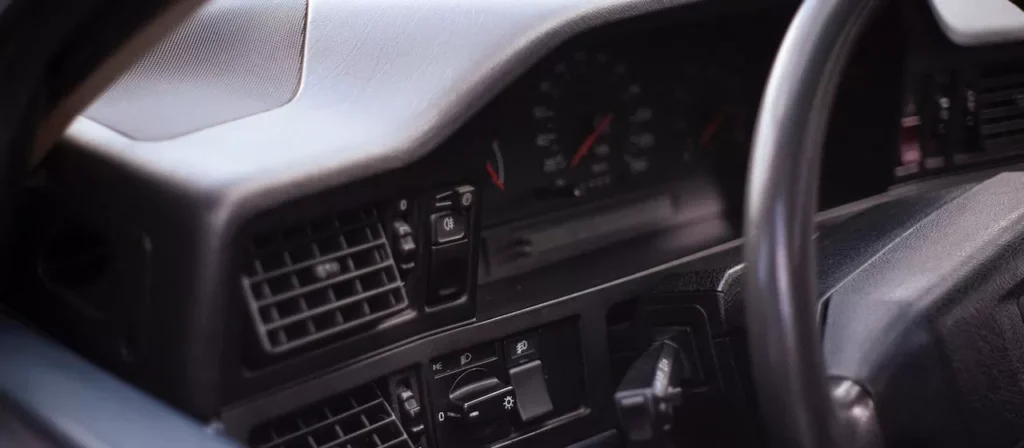
How to Winterize Your RV: A Step-by-Step Guide on How to Protect Your Vehicle from Freezing Weather
With the fall season upon us, we’ve started seeing piles of golden red leaves everywhere, porches filled with jack-o’-lanterns, and pumpkin patches crowded with parents and their little ones. For travelers and campers, fall can mean one thing: It’s time to store their RVs or trailers once again for winter.
Why the need to winterize your RV?
Picture this out: The cold temperature will cause the narrow waterlines of your vehicle to freeze and then expand. Next thing you know, the lines will burst open, leaking water everywhere. Worse, you’ll be spending hundreds of bucks to replace the plumbing lines.
Get Started With Our Guide
If you think winterizing an RV only involves covering it and putting it away in your garage until spring arrives, think again. You need to carefully follow a set of steps to be able to keep your vehicle in good condition. Just one mistake and—boom!—you’re setting it up for major problems.
Before starting the winterization process, make sure that you have these items ready:
- Tank cleaning wand
- Water heater bypass kit
- Water pump converter kit
- 2 to 3 gallons of non-toxic RV antifreeze
- Basic tools for drain plug installation and removal
We also suggest you read your RV’s manual first before you move on to our own guide. Let’s begin with these steps:
- Drain the water system.
Drain the black water first before draining grey water. After that, you may drain your cold and hot water lines. Be sure that you drain your fresh water tank right after.
See to it that you replace the plugs back after draining the hot and cold water lines to prevent your antifreeze from draining out. Since those lines are low-point drains, expect only small drops to come out of them.
- Drain the water heater.
Open the hot tap in the kitchen or the heater’s relief valve first in order to lessen the pressure. Either open the drain valve outside of your heater or remove its drain plug in the lower left-hand corner.
NEVER drain the water heater tank when it is hot or under pressure. Allow it to cool off before draining. Open the pressure relief valve at the top of the heater to drain the tank faster.
- Bypass your water heater.
Most RVs are already installed with a water heater bypass kit. If yours doesn’t have this kit, you should buy a temporary kit or call a local RV facility to install one for you. Without it, you’ll be wasting about 6 to 10 gallons of RV antifreeze.
Before you proceed to bypass the water heater, don’t forget to turn off all power. Also, make sure that its gas pilot is not lit.
Bypass valve systems come in three types: one-valve system, two-valve system, and three-valve system.
The one-valve system is the simplest one. Just close the valve so it looks perpendicular to the cold water line. That’s it.
For a two-valve system, turn the two valves so they appear perpendicular to both hot and cold water lines. See to it that they’re also parallel to the bypass line.
With a three-valve system, you’ll need to turn the valves and make sure they are perpendicular to the line. After that, you turn the valve on the bypass to make it parallel to the bypass line.
- Add antifreeze to the water pump.
For antifreeze to enter your RV’s plumbing system, you must set up a temporary water pump bypass first. Detach the water pump from the fresh water tank, which you’ll find on the former’s side. Make sure that you have towels prepared in case of trickles.
Connect the temporary bypass to the pump side, with the other end connected to the container of your antifreeze.
Be sure to use a non-toxic RV plumbing antifreeze. You most likely need 2 jugs of it.
- Turn on all water outlets.
The first thing you need to do is to close all water taps, after which you turn on the water pump. Make sure you run all outlets separately.
Start with the hot tap in your kitchen, followed by the cold tap. Once you see antifreeze, just continue running it for a second before turning them off. Do the same with the bathroom sink, bathtub, and also your showerhead.
As for the toilet, flush it until you notice antifreeze. Pour a cup of antifreeze into all the drains. After everything’s done, you may now turn off your water pump.
- Fill the check-valve line
The check-valve line serves as the link between your RV and the city water.
Before you begin, make sure that the water pump is off. Separate the screen connecting the city water hookup. As soon as you see the check valve inside, you push it and hold it down until you find drops of antifreeze.
Don’t forget to reconnect the water pump after.
Check your RV owner’s manual for additional instructions.
If your vehicle is equipped with washing machines and icemakers, be sure to consult your manual for specific winterizing instructions.
There you have it! If you’re having a hard time with some of the processes, you can always contact a local RV facility.
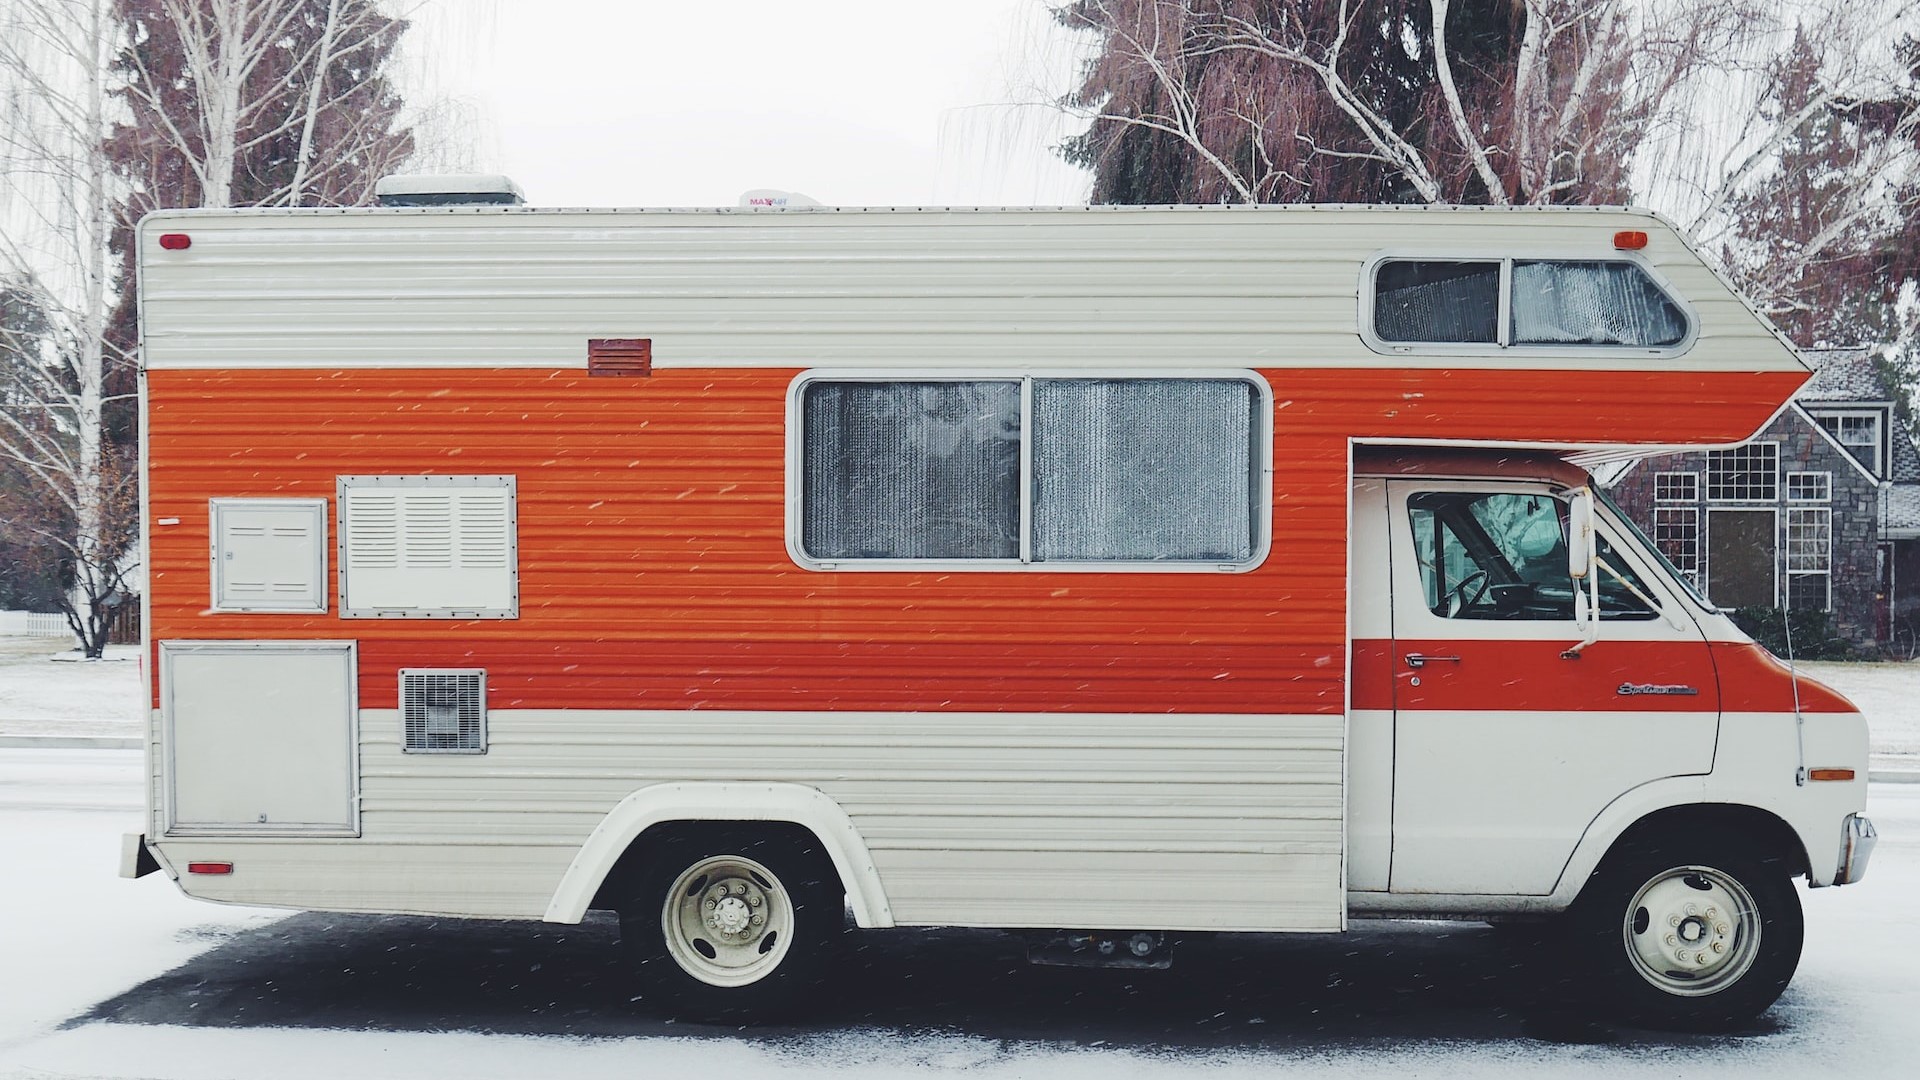
Got an Old Camper You No Longer Need? Donate It!
[caption id="attachment_21044" align="alignnone" width="1120"] Photo by zvika shmaya under Pexels License[/caption]
Tired of seeing a dusty trailer occupying your garage? Planning to get rid of it without the hassles of selling? We have the perfect idea: Donate it to us at Breast Cancer Car Donations.
We use the proceeds from the auction sale of vehicles donated to us to support our nonprofit organization partners that have dedicated themselves to fighting breast cancer and helping its victims. They use the funding to deliver breast health services to all individuals who need them. These services include providing beneficiaries with access to health facilities that offer breast cancer screening, diagnosis, and treatment. The funding is also used to finance breast cancer research and outreach programs to extend breast health services to more needy individuals.
Check out our FAQs page to learn more about Breast Cancer Car Donations, our quick and convenient donation process, the types of vehicles you can donate, the top tax deductions, free towing, and other perks you’ll get for your charitable contribution, and other related matters.
If you have questions, call us at our toll-free 24/7 hotline (866) 540-5069 or send us a message online.
You can make your car donation by calling us directly or by filling out our online donation form. We accept vehicle donations anywhere in the United States since we have car donation programs in all 50 states.
No Complication Here
Learning how to winterize your RV may look complicated. However, there is no complication when you simply donate that vehicle to us at Breast Cancer Car Donations: We sell your vehicle. We use the proceeds to help save lives. You get your tax deduction. That simple.
Call us at (866) 540-5069 and make your car donation now!